The myth everyone believes
If you've ever asked someone how to set up a planter box, you've probably heard this advice: "Put a layer of rocks or gravel at the bottom for drainage." It sounds logical. It feels right. And almost every gardening blog on the internet repeats it.
Here's the problem: it's wrong. And it's not just a little wrong. Multiple university research programs have tested this and found that rocks at the bottom of a container actually make drainage worse, not better.
What the research actually says
Researchers at the UC Master Gardener Program, Washington State University Extension, and the University of Illinois Extension have all studied this question directly. Their findings are consistent: adding a gravel layer to the bottom of a container does not improve drainage. It raises the saturated zone closer to your plant's roots.
The reason comes down to basic soil physics, and it has a name: the perched water table.
The perched water table problem
Water moves through soil by capillary action and gravity. When water reaches the boundary between two very different materials (fine potting mix on top, coarse gravel on the bottom), it stops. Water does not flow easily from a fine-textured material into a coarse-textured one.
Instead, the water accumulates in the potting mix just above the gravel line. It sits there, saturating that layer completely, until the soil simply can't hold any more. Only then does the water break through into the gravel below.
This means that a layer of gravel raises the zone of saturated soil closer to your plant's root zone. The roots that would have been sitting in well-drained mix are now sitting in waterlogged soil. That leads to root rot, which is the number one killer of container plants.
There's a second problem: the gravel takes up space that could have been filled with actual potting mix. You're giving your plants less soil to grow in and more standing water near their roots. It's the opposite of what you want.
What to do instead
The fix is simple. Fill your entire planter with well-draining potting mix, from the bottom all the way to the top. Quality potting mix (look for brands like FoxFarm Happy Frog, Espoma Organic, or Black Gold Natural and Organic) is already engineered with perlite, peat moss, and other lightweight materials that maintain air pockets even when wet.
To keep soil from washing out through the drainage holes, place a small piece of landscape fabric, a coffee filter, or a broken pot shard over each hole. This lets water drain freely while keeping your potting mix where it belongs.
If your planter sits on a surface you want to protect (a wooden deck, a stone patio), set it on a drip tray with a thin layer of pebbles. The planter sits above any collected water, and the pebbles prevent the bottom of the planter from sitting in a puddle. This is the only place where rocks belong in your container setup.
The role of drain holes
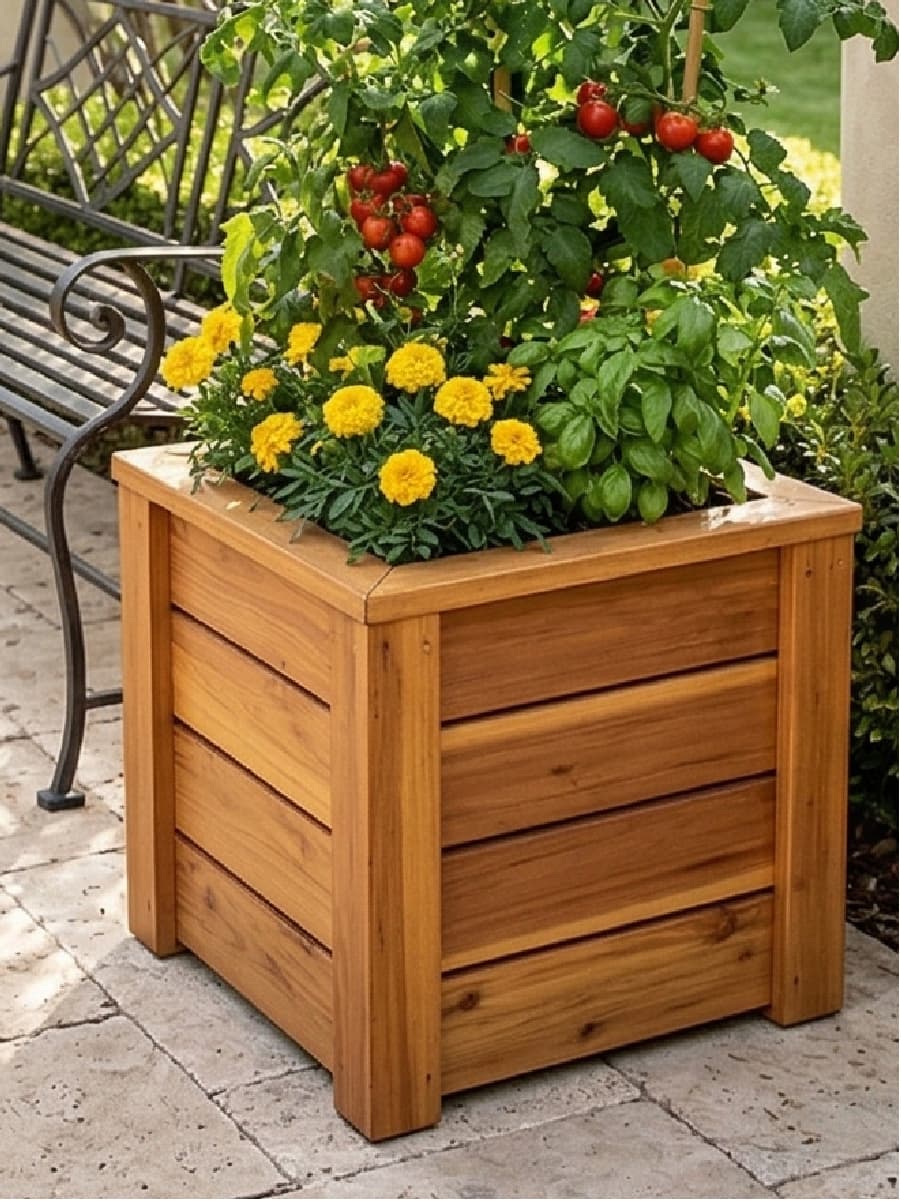
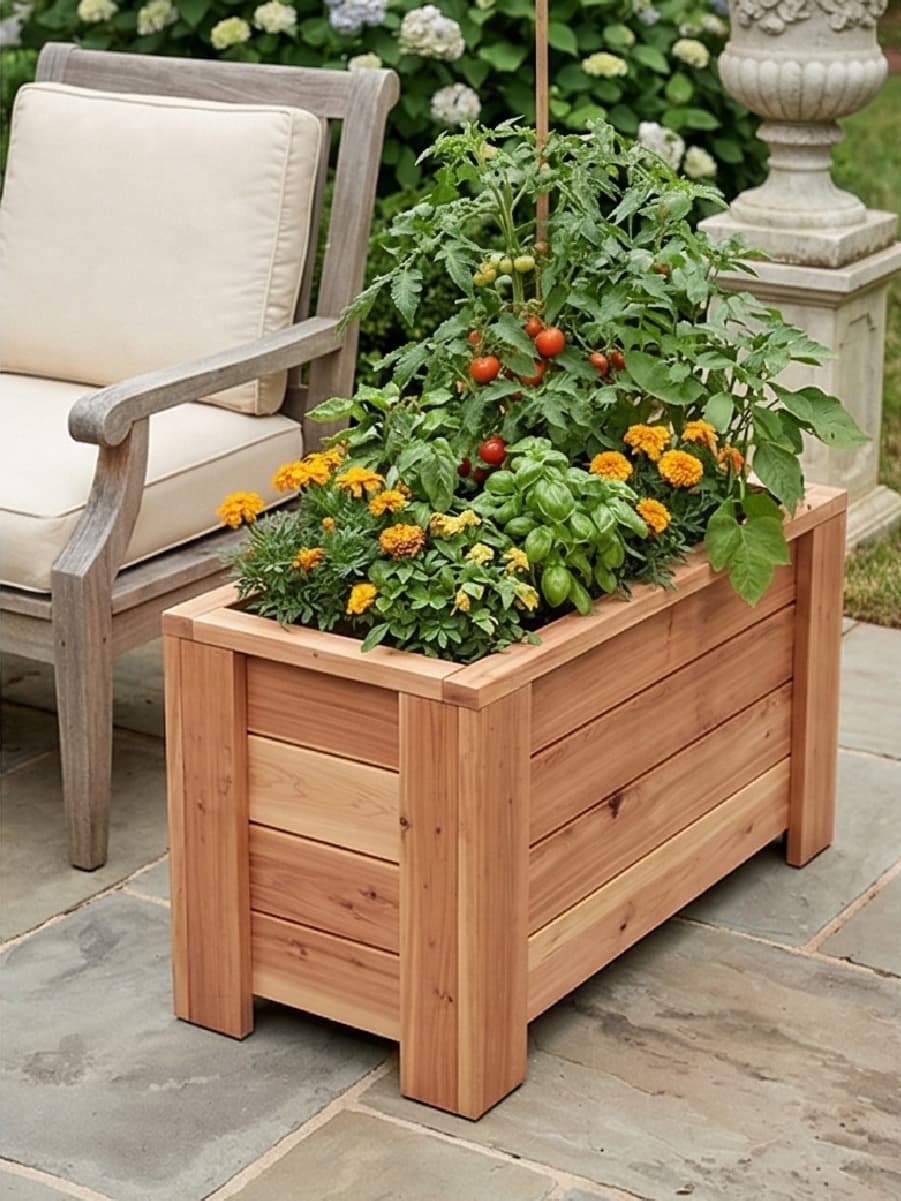
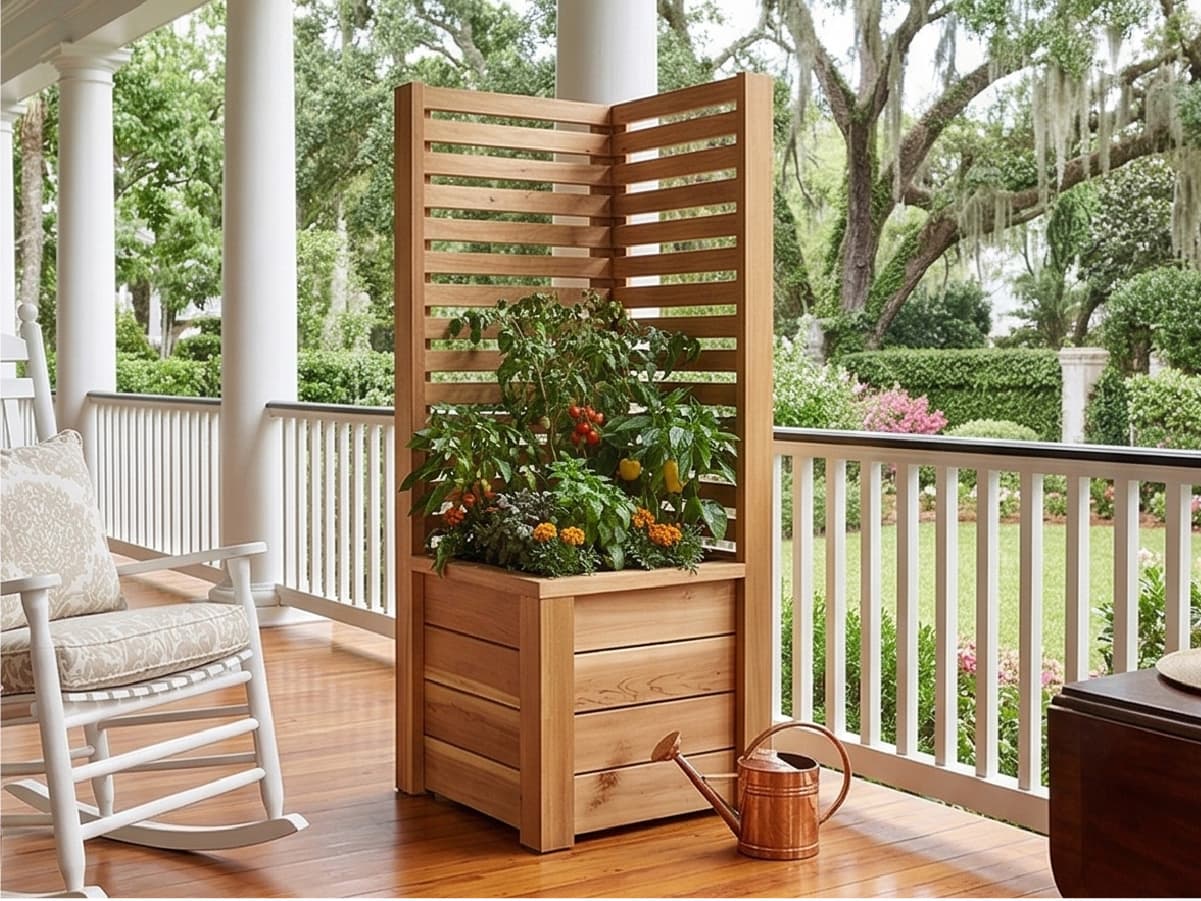
Good drainage starts with the planter itself. Every Esme Made This cedar planter comes with pre-drilled drainage holes because this is the single most important factor in keeping your plants healthy.
When you water, you want to see water flowing out the bottom within a few seconds. That tells you the potting mix is draining properly and water isn't pooling inside the box. If water takes a long time to appear, your mix may be too dense (this is common with garden soil or cheap potting mixes that pack down over time).
In Atlanta's climate, where summer afternoons can bring sudden heavy downpours, good drainage is especially important. A planter that can't shed excess water fast enough will leave your roots sitting in soggy soil, and in July heat, that's a recipe for root rot.
The bottom line: skip the rocks, use quality potting mix, and make sure your drain holes are clear. Your plants will thank you for it.