Why prepare your cedar box
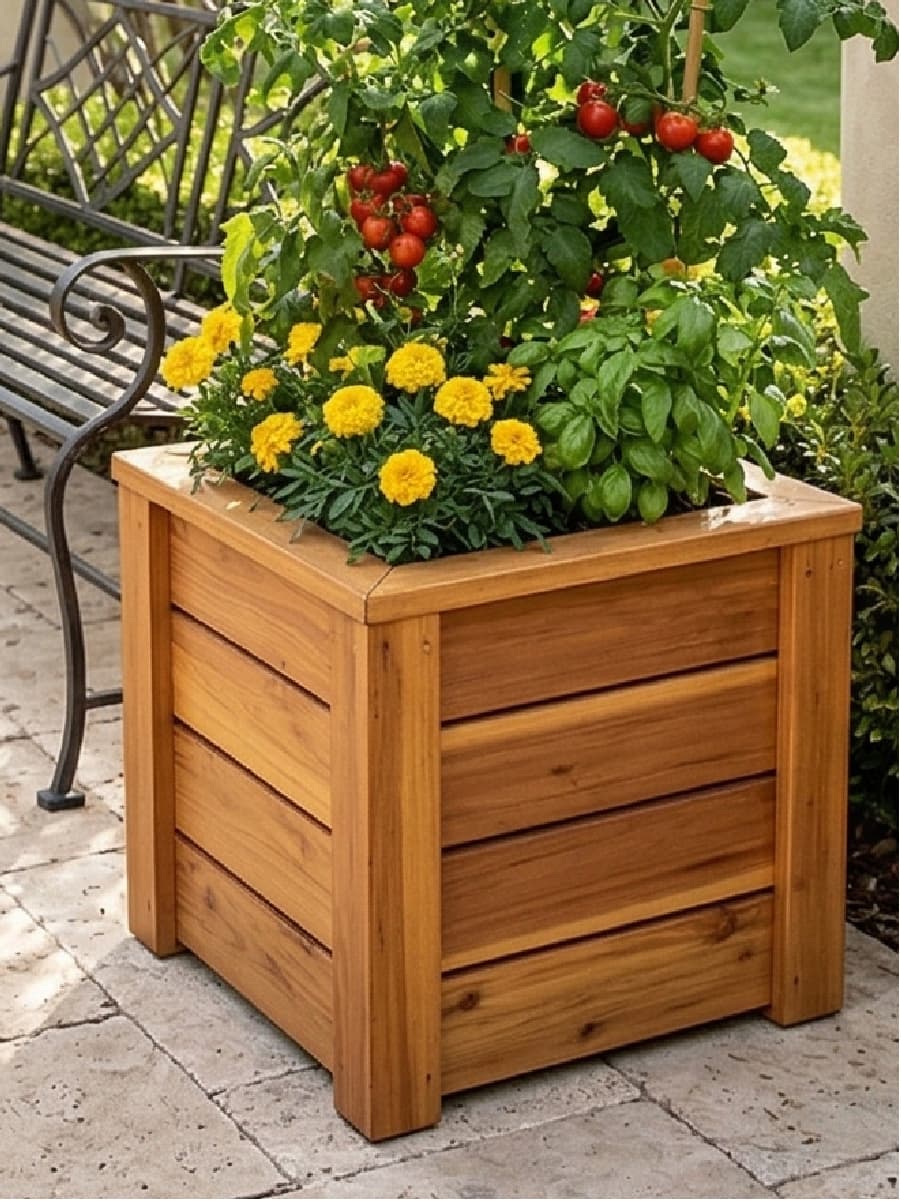
Cedar is one of the best woods you can use for a planter box. It contains natural compounds called thujaplicins that resist rot, fungal attack, and insect damage. That's why cedar planters outlast pine, poplar, or untreated fir by a wide margin even with zero preparation.
But "naturally rot-resistant" doesn't mean "impervious to moist soil forever." Cedar's natural oils deplete over time, especially when a planter holds damp potting mix against the wood day after day, season after season. A raw cedar planter without any oil treatment will typically last 5-8 years before the interior panels start to soften and degrade. With tung oil treatment and a landscape fabric liner (both included with every Esme Made This planter), that number climbs to 15-20 years.
The good news is that preparation is straightforward. Two things make the biggest difference: sealing the interior wood with food-safe tung oil, and installing a landscape fabric liner that creates a barrier between the moist soil and the wood. Neither requires special skills. The most important ingredient is patience, because tung oil needs time to cure before it's safe for planting.
For a deeper look at why drainage matters alongside preparation, see my guide on the biggest myth about planter box drainage.
What you'll need
Before you start, gather everything. Interrupting the process to make a hardware store run between coats adds unnecessary time.
For tung oil application
The most important thing to get right is buying the correct product. Look for "100% pure tung oil" and read the ingredients. The only ingredient should be tung oil. Products labeled "tung oil finish" are almost always a blend of varnish and solvents with a little tung oil added for marketing. They are not food-safe.
Brands that carry genuine 100% pure tung oil include Real Milk Paint Company, Heritage Natural Finishes, and The Warre Store. You can find them online if your local hardware stores don't carry them. It's worth ordering ahead.
You'll also need citrus solvent (sometimes sold as citrus thinner or d-limonene). This is a food-safe thinner made from orange peel. It's used to dilute the first coat so it soaks deeper into the wood grain. A natural bristle brush, foam brush, or lint-free rags all work for application. Have 220-grit sandpaper on hand, plus a drop cloth to protect your work surface.
For liner installation
You want commercial-grade woven polypropylene landscape fabric, rated at 3-4 oz per square yard. The cheap nonwoven fabric sold in thin rolls at garden centers tears easily and won't hold up well in a planter. Look for the heavier woven material.
You'll also need a staple gun with stainless steel or galvanized staples (rust-resistant is important here), sharp scissors or a utility knife, and a measuring tape.
Applying tung oil (step by step)
Tung oil penetrates into the wood fibers rather than sitting on top as a surface coating. That's what makes it so effective: it reinforces the wood from within rather than just adding a layer on top that can chip or peel. The trade-off is that it requires multiple coats over multiple days, and it needs time to cure before your planter is ready.
Work in a ventilated area. A garage with the door open, a shaded patio, or a well-aired shed all work well. Avoid working in direct sun, which can cause the oil to dry before it has time to soak in.
Step 1: Sand and clean the interior
Sand all interior surfaces lightly with 220-grit sandpaper. You're not trying to reshape the wood, just to open the grain slightly so it absorbs the first coat better. Wipe away all dust with a damp cloth, then let the wood dry completely. If you rush this step and trap moisture under the first coat, the oil won't penetrate evenly.
Step 2: First coat (50/50 diluted)
Mix tung oil and citrus solvent in equal parts. This thin mixture penetrates farther into the wood than straight oil. Apply liberally to all interior surfaces. Let it soak for 30-40 minutes, then check for any spots that have dried out and look chalky. Reapply to those spots. After 40-90 minutes total, wipe off any excess that hasn't absorbed. Don't leave puddles sitting on the surface.
Wait 24 hours before applying the next coat. In Atlanta's humidity, you may want to let it go a full day and a half to be safe.
Step 3: Second coat (75/25 or straight oil)
The second coat can be 75% oil and 25% solvent, or straight oil if you're comfortable with the consistency. Apply a thinner layer than the first coat. The wood has already absorbed what it can from the first coat, so this one builds on top of that foundation. Wipe excess after 30 minutes.
Wait another 24 hours.
Step 4: Third coat (pure tung oil, the sealing coat)
Apply undiluted tung oil for the final coat. This is the sealing layer that closes the pores. Apply evenly, let it soak briefly, and wipe excess thoroughly. Any oil left sitting on the surface will become tacky rather than curing properly.
If you want extra protection on the bottom panel (which gets the most direct moisture exposure from sitting on wet soil or a deck), an optional fourth coat on the bottom only is worthwhile. Let that dry an additional 24 hours.
Installing the landscape fabric liner
The liner goes in after the tung oil has had at least 3-4 days to dry to the touch. It doesn't need to be fully cured yet, just dry enough that the fabric won't pick up residue.
Step 1: Measure and cut your panels
Measure each interior surface: the bottom, the two long sides, and the two short sides. Add 2 inches to each measurement as an overlap allowance. Cut a separate piece for each panel rather than trying to wrap one continuous piece around corners. You'll get cleaner results.
Step 2: Lay the bottom piece
Drop the bottom panel of fabric into place. It doesn't need to be stapled yet. The side pieces will hold it down.
Step 3: Install the side pieces
Press each side piece against the interior wall. Fold the bottom edge so it overlaps the bottom panel by 1-2 inches. Fold the top edge over the rim of the planter by about 1 inch. Staple along the top edge every 3-4 inches to secure the fabric to the wood. Use stainless or galvanized staples so they don't rust and stain the wood over time.
Step 4: Handle the corners
Corners are the trickiest part. Fold them neatly the way you'd wrap a gift box, creating flat overlapping folds rather than bunching the fabric. Staple the corner folds securely. A clean corner fold prevents soil from finding gaps to push through.
Step 5: Cut drainage hole slits
Find where the drainage holes are in the bottom of your planter and cut small X slits in the fabric directly over each hole. The X cut allows excess water to drain freely without leaving a gap large enough for soil to push through.
Step 6: Trim the top edge
Once everything is stapled, trim any excess fabric at the top so it sits just below the rim. You don't want fabric visible above the soil line once you've planted.
Cure times and when to plant
Tung oil cures through a chemical reaction with oxygen rather than simple evaporation. That means cure time is affected by temperature, humidity, and airflow. In Atlanta's famously humid conditions, cure times lean toward the longer end of each range.
Here's what to expect after the final coat of tung oil:
| Milestone | Typical Timeframe | Atlanta/High Humidity |
|---|---|---|
| Surface dry (no longer tacky) | 24-48 hours | 48-72 hours |
| Safe to install liner | 3-4 days | 4-5 days |
| Safe to plant | 7-10 days | 10-14 days |
| Full cure | 15-30 days | 25-30+ days |
The "safe to plant" window is the one that matters most if you're growing edibles. Pure tung oil that is not yet fully cured isn't harmful, but waiting until at least 7-10 days (longer in summer humidity) gives you peace of mind and ensures the oil has properly bonded with the wood rather than potentially leaching into your soil.
If you want to check whether the oil is fully cured before planting, press a piece of plastic wrap flat against the interior wood and tape the edges down. Wait 24 hours. If the wood underneath the plastic feels tacky or looks darker than the surrounding area, it's still off-gassing and needs more time. If there's no difference, you're good to go.
One more note on Atlanta conditions: if you're doing this in July or August when humidity is consistently above 80%, give everything extra time. Running a box fan nearby to increase airflow can speed things up meaningfully. In spring or fall with lower humidity and good airflow, you can often plant closer to the 7-day minimum.
Already done for you
Every Esme Made This planter ships with three coats of food-safe tung oil on the interior and a commercial landscape fabric liner already installed. By the time it arrives at your door, the oil has been curing in controlled conditions. You can fill it with soil and plant the same day it arrives.
The process above is still useful to understand because re-oiling every 2-3 years is an important part of maintaining your planter's longevity. When it's time to re-treat, you'll follow the same steps with a single coat of pure tung oil on any interior surfaces that look dry or where water has stopped beading.
For what to put in your prepared planter, see my guide on the best soil for cedar planter boxes.